How to Block Specific IP Addresses in IIS 10 for Good
If you need to block an IP address, you can do that directly in IIS 10 with the Web IP Security feature. You can install it with this PowerShell command (run it as administrator):
After a reboot of your server, you should see the Icon "IP Address and Domain Restrictions" on the home screen of your web application in the IIS Manager:

If you double-click on the icon, you can access the settings for this module:
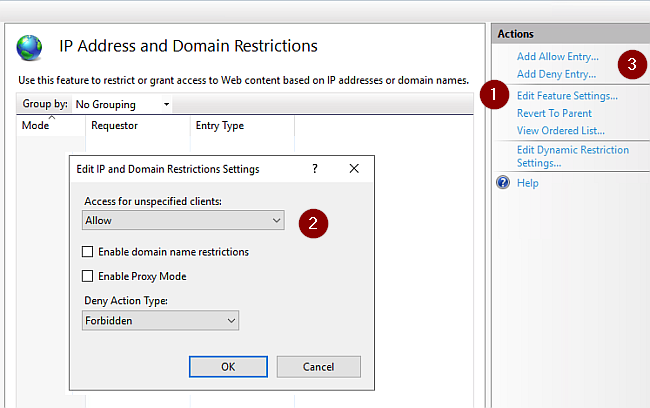
You can choose between allowing everyone or blocking everyone as the base settings by clicking on (1). By default, everyone can access your site except the IP addresses you block (2).
After you set the basic rule for everyone, you can add entries that you want to treat differently (3). You can add a single IP address or an address range:
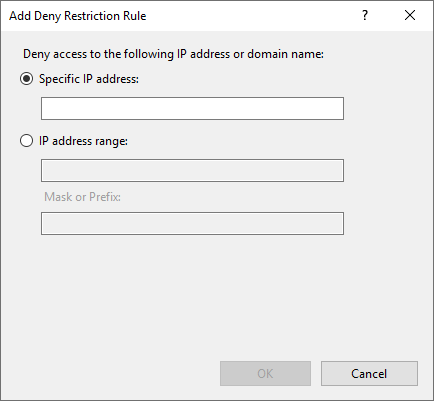
The rule takes effect immediately and the specified IP address can no longer access your web application.