Visual Regression Testing for Your Web Applications
Visual regression testing is the last part I write about the NDC Oslo 2020 workshop Front End Web Fundamentals hosted by Amy Kapernick (@amys_kapers). This kind of testing is a nice extension to my testing toolbox and can help you to get an alarm when you unintentionally change your user interface.
How does visual regression testing work?
The basics of automated visual regression testing are simple: Compare an image of a well-known state to an image of the current state. If they are identical, the test passes. Otherwise you get an error. You may have heard the terms characterization test or Golden Master Testing to describe this kind of testing. Here you do the same, but with images instead of objects or (text) files.
As so often, the devil is in the details: how much change is allowed to still consider it identical? Is a pixel off pass or fail? How about barely visible change in the font size? That is where simple turns into complex and you need a good tool to help you.
BackstopJS
A great help for this kind of testing is BackstopJS. Not only does it take care of the whole image collection, it offers a user-friendly way to compare those images when they differ.
You can install BackstopJS with this command:
The BackstopJS workflow
Go to your project and run this command to initialize BackstopJS:
This creates the folder backstop_data for the images and the file backstop.json where you create the test scenarios for BackstopJS.
The next step is to run the tests:
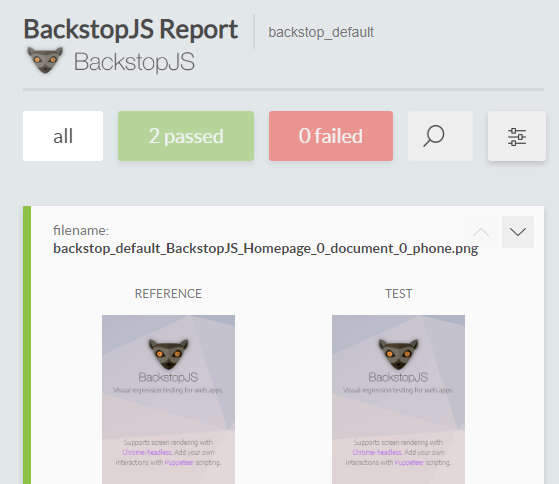
BackstopJS comes with two scenarios that it runs. Since it is the first time your run it, there are no known good states and the tests fail. BackstopJS should open your browser and show you a Report with both errors:

If the report looks ok, you can now approve the current state:
When you now run the test command again, both tests will pass:
Create your own tests
Open the backstop.json file and go to the "scenarios" section. You can copy the part between the { } and paste it below. Do not forget to add a , between the two scenarios. You now can change the URL to your site and keep the rest as it is:
To see if everything works as expected, run the test command:
Your new scenario should fail with two tests. The reason it fails is that you do not have an accepted state for your scenario. It is two failing tests instead of one because BackstopJS has two viewports (phone and tablet) in the default configuration. You can now approve your scenarios:
Protect yourself from accidental changes
With your own approved scenarios in place, you can now start to refactor your application. The goal of refactoring is that everything keeps looking the same. Whenever you are done with a small step of improvement, you run backstop test again.
If everything looks as it did before, you get a passing test.
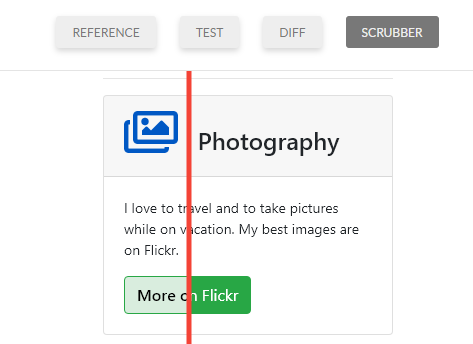
As soon as you make an accidental change, your test fail and BackstopJS gives you a visual representation of what exactly changed:

You can click on any image and see in more details what BackstopJS detected. I find the scrubber a great help to get the current and the last accepted image as an overlay. You can move the line around to get a better understanding of the change:
How to fix this failing test depends on the reason why the test failed:
- If you did an error while refactoring: you revert your change and try another way.
- If the change in the user interface is intended: approve this new state.
- If BackstopJS sees a problem that does not exist: fine-tune your backstop.json file.
Customize BackstopJS
The default configuration is a good starting point, but it has its limits. You can configure BackstopJS in many ways to address things like hoovering over elements, login to forms before you can access your site or changing the reporting format to use it in a CI build. This flexibility should address all your needs, but it may need an answer or two from Stack Overflow.
Conclusion
BackstopJS is a nice tool to check the visual part of your application. You do not need to change any configuration and can jump right into writing your scenarios. I find it a helpful tool and will use it when I refactor CSS and HTML.