How to Create a Dev Container for Ruby Apps
Last week we looked at the reason why we should use dev containers to write code. This week we create a dev container to develop a Ruby application on a machine that has no Ruby installed.
Why would you do that? Tools like rbenv are a great help to manage your Ruby environments. However, getting the right Ruby interpreter is only part of the setup. You need all your Gems and 3rd party tools in the right version, or nothing goes. My machine has no Ruby installed and by the end of this post I will run my Ruby Gem
'ruby' is not recognized as an internal or external command, operable program or batch file.
Find a Ruby image
Docker Hub hosts the official Ruby images that go back a long time. Look at your .ruby-version file and you most likely will find an image tagged with that version number.
If this is not the case, you need to find an alternative version of Ruby that works with your application.
Create a Docker file
My Docker file for a Ruby dev container looks like this:
This Docker file takes the Ruby image matching the one I need to run the application. It runs apt-get update to install updates and security patches for the underlying Linux system, creates a /workspace folder and installs Bundler.
If you need more Linux packages, you can put them below the call to apt-get install.
Create a Docker Compose file
Docker Compose is not necessary for just one container. However, when we try to put Rails into a container, we need a database and then Docker Compose will be a great help to run everything we need with one command.
My docker-compose.yaml file looks like this:
The magic happens with the volumes, where we mount the current directory (where our code is) into the container as /workspace. What we change there is visible inside the container and outside in our Git repository. That allows us to keep our changes around when we rebuild our container.
The command section keeps our container up and running so that we can connect to it. Without that line it would immediately shut down.
Start the container
We can now start our dev container with this command:
From time to time you should rebuild your container to run apt-get update with this command:
Install dependencies
We can use Docker Desktop for Windows or the command line to connect to our container:
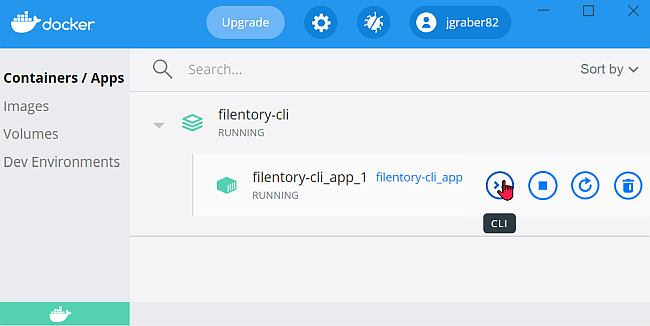
Wait until the command line window opens and then install the dependencies of your application:
Run the application
Now everything should be in place to run the Ruby application:
Usage: filentory-cli [options] name path [server]
A tool to create an inventory of a storage medium
v0.6.1
Options: -h, --help Show command line help
Next
With our Ruby environment in place, we can start changing our application. Next week we look how we can access our dev container with Visual Studio Code and make some changes in our application.