How to Await an Octopus Task in Azure DevOps
Many tasks for Octopus Deploy in Azure DevOps work asynchronously. What is great in fire-and-forget scenarios, can be a problem when we need to finish a task before we go to the next one.
We had many failing BDD tests right at the beginning of the test run. After a long and cumbersome debugging session, we found the source of the problem: Our tests started before Octopus deployed our release to the server. But how can we delay our pipeline enough until Octopus finishes its work?
The Await Task should be all we need according to the Octopus documentation. Unfortunately, the documentation is thin and there are a few extra steps we need to do when we use the classic pipeline. Let us explore all the moving parts we need to get right to await our release task.
Use the newest version of the Octopus tasks
While writing this post, version 6 is the current release of the Octopus tasks. Make sure that you use this version in all tasks, otherwise it will not work.
If you have version 5 for the Create Octopus Release step, you need to switch to version 6. You best create a clone of this step, then switching to version 6 removes most of the data in the configuration form, and with the clone, you can copy and paste the values to the new step. The main change between the two versions is that you now need to use the name for the Space and the Channel, and not their Id:

In the Output Variables section, we must set a variable like OctopusRelease to catch the version number of the release that Octopus creates for us in this step:

Add a deploy task
While version 5 of the Create Octopus Release task also started the deployment, version 6 no longer does this. We need to add a Deploy Octopus Release task to install our release on the server.
The release number is a combination of the variable name we set in the create release step and .release_number. This turns our OctopusRelease variable into $(OctopusRelease.release_number) that we can put into the mandatory release number field:

Here again, we must expand the Output Variables section and define a variable like BddDeploy:
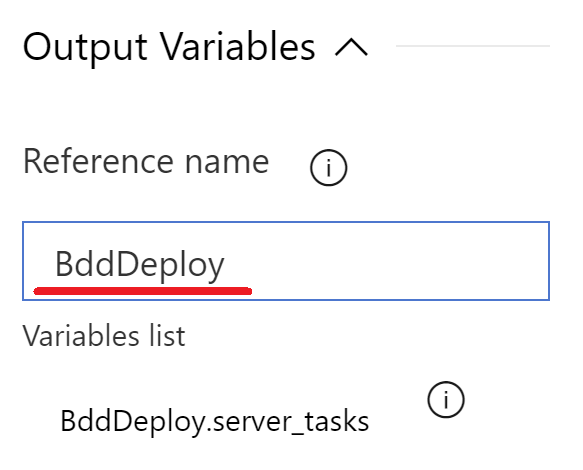
Add the await task
We now can add the Await Octopus Task Completion task, fill in the values for our infrastructure and put the output variable from the deploy task in the Step field:

The result
After all these steps, we should have 3 Octopus tasks that look like this:

We can now save our pipeline and run it to check if everything works. If the build fails, you missed a field, or you still use the Id instead of the name somewhere. Read the error message carefully, they are an immense help to find the error.
Conclusion
With all the steps in place, our pipeline awaits the deployment before it continues to the test task. That way we only run our BDD tests when the release we want to test is fully deployed.
As you can see with all the steps we needed, awaiting an Octopus task is not as simple as it should be. However, if you follow along this guide, you get it to work in no time.